| |
|
Each violinmaker has his expertise,
construction techniques, and his own varnish recipe.
Naturally, I was highly influenced by Cremonese
construction methods, but through my encounters
with other violinmakers, I have been able to acquire
several tricks of the trade that have allowed me
to enrich my experience, and to expand my view of
violinmaking.
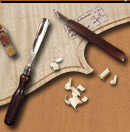
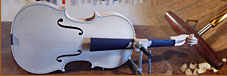
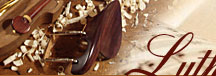
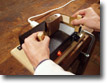
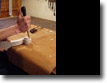
Here, summarized in these photos, are
various stages in making an instrument.
|
|
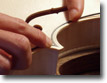
1 : Bending the ribs.
5 : Inside
view of
the belly.
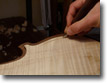
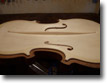
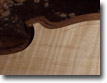
9 : Purfling of the back.
13 : Scroll and body. |
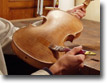
2 : Shaping the arching.
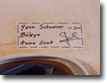
6 : Label.
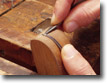
10 :
Cutting the purfles.
14 : Assembling
the neck
with the resonating body. |

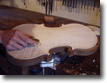
3 : Controlling
the
thickness of the back.
7 : View of the bass bar.
11 : Fitting the purfles.
15 : Vernissage. |
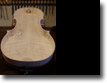
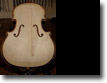
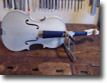
4 : Overall
view of the
body.
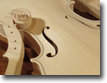
8 : View
of the tracing
for the purfle.
12 : Sculpting
the
scroll. |
| Once
this work is completed, it is up to the musician
to take over the instrument and give life to this
"resonating body". |
|
|
|
|